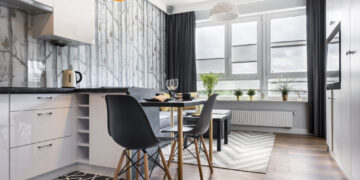
We love kitchens. It’s where we cook our food, where we entertain guests, and where we spend a significant portion of our daily lives. Of course, we want our kitchens to be as welcoming as possible. As one of the main rooms in the house, your kitchen should be warm and inviting both to you and your guests. It doesn’t matter when your last kitchen makeover happened; trends change, styles change, and you might consider upgrading your kitchen.
However, considering the cost of the ultimate kitchen makeover, most of us might backtrack. Depending on the level of quality of new kitchen cabinets, a complete makeover might set your bank account back $5,000 or more. That’s simply not an option for most of us, considering the financial struggle we just experienced and might still experience. So what options do you have?
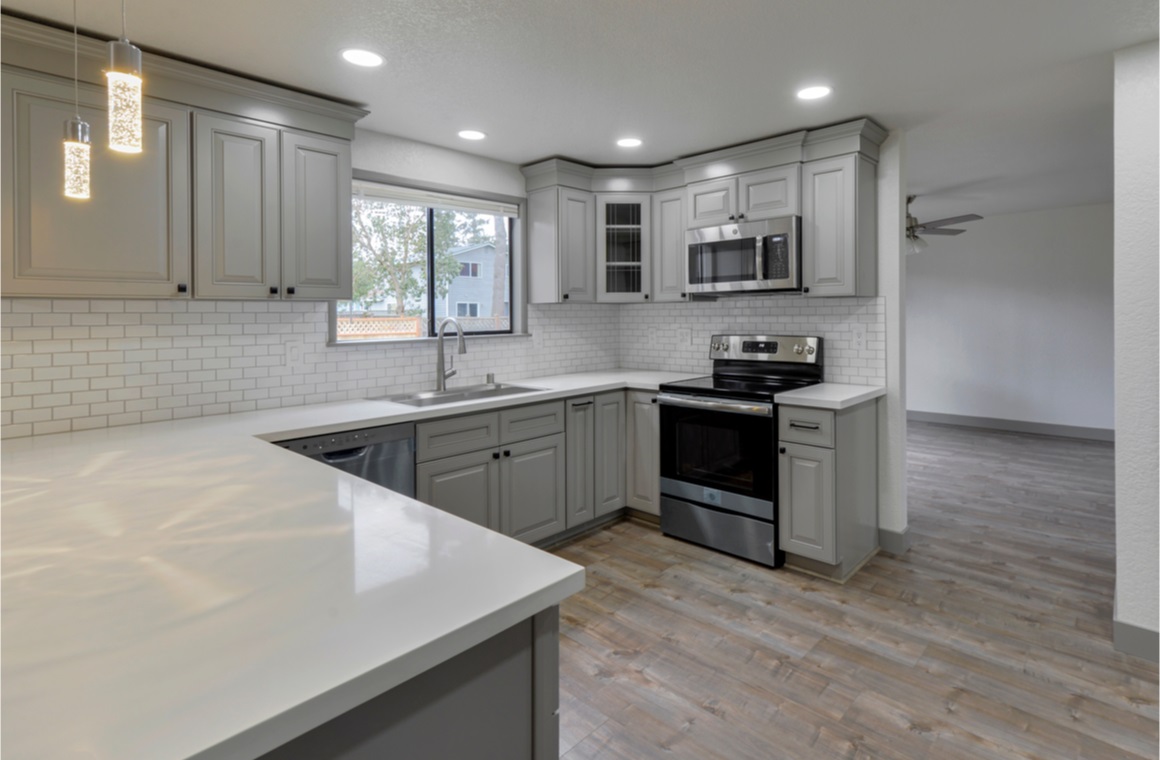
One of the best ways of upgrading your kitchen is by updating kitchen cabinets on a budget, especially if you’re rehabbing a flip house and don’t want to go over your established financial plan. Looking back at the value mentioned above, how would you like it to have brand new-looking cabinets for less than $1,000, in some cases, around $200? Of course, you’d jump at the idea.
That’s precisely what this article will be about—figuring out how to redo kitchen cabinets on a budget. So buckle up, take your notebook and start scribbling down the best ideas for your kitchen because we’ll be taking you on a power trip.
How to Update Kitchen Cabinets Without Replacing Them?
For this project, because it will be quite the project, you have to memorize the three R’s: Reface, Refurbish, and Refresh. These three R’s will help you limit your budget, and your bank account will love you for it. The following steps don’t require an overwhelming amount of experience. What you are required to do is follow the safety precautions and the product’s methods of application. But there’s something you must do first.
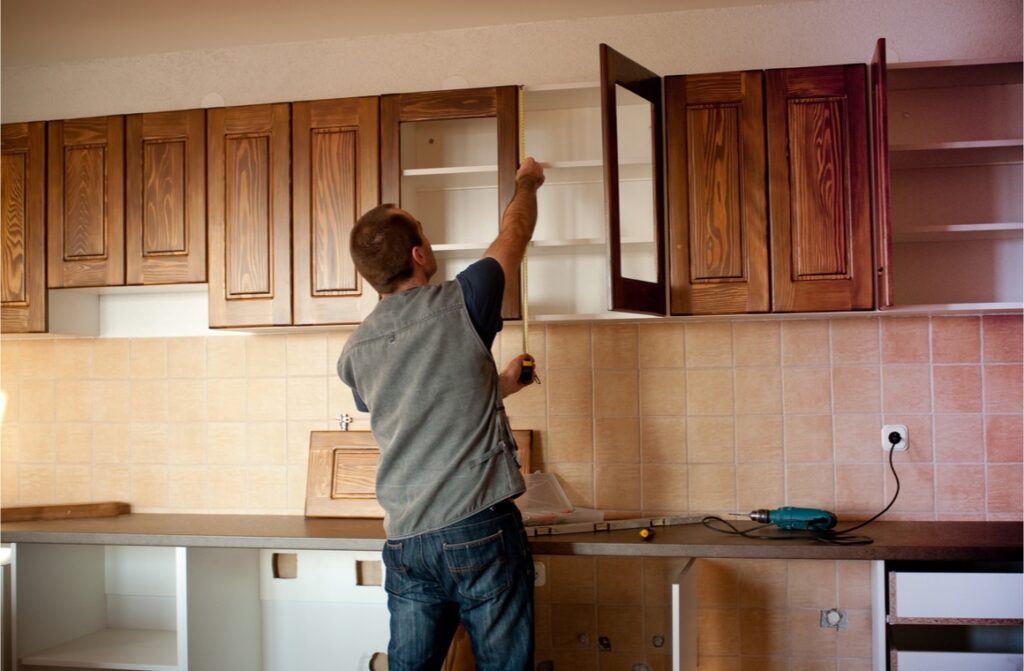
Take a close look at your kitchen cabinets. Analyze their structural integrity. Is the veneer peel coming loose? Are the joints, shelves, or the cabinet bottom sagging or breaking? If any of the structural elements of your kitchen cabinets look like they can come apart at any time, it might be time to replace them. However, if the structural elements (the wood part of the cabinets) are structurally sound, then you’re good to go. We only mention this because no amount of high-quality paint, glue, or woodworking can fix that. Not even a professional would consider the labor worth the finished result. So it’s best to cut your losses and start from scratch.
Now, getting back to structurally sound kitchen cabinets. Those can be refaced, refurbished, and refreshed. All you need is time, commitment, and the tools for the job. Once you’re at it, why not add some potted plants in your kitchen. You can also include that in your gardening plans if you want to cook some homemade recipes from your own garden.
Best Paint for Kitchen Cabinets
Choosing the right type of paint for your cabinet makeover really comes down to you and your time. The types of paint that can be used for cabinet makeovers are split into two categories: oil-based or water-based. The difference between them is the time it takes to fully cure and the level of know-how necessary to use. In this day and age, with the growing desire to use only the safest and environmentally friendly options, oil-based paint is losing terrain, and water-based paint is gaining ground.
The biggest pro to water-based paint is the fact that it dries faster, allowing you to put the second coat on quicker and can easily be cleaned with water. However, professionals still use oil-based paints because of their more rigid and more durable paint film. Something to take note of regarding water-based paints is that while they do dry faster, it takes longer for them to fully cure, and during that time, they are susceptible to damage.
Pro-tip #1: If you choose water-based paint, go for a 100% acrylic formula as it offers more durability.
Pro-tip #2: If you choose a water-based paint, your finish should also be water-based, and oil-based should take an oil-based finish. If you combine the two, make sure you allow the paint to fully cure before applying the finish.
Brush or Spray to Apply Paint

For the smoothest aspect of your furniture, the spray-on option is what all professional painters suggest. However, something to keep in mind is that the spray equipment must be rented unless you plan on refurbishing furniture as a hobby, and you need to learn how to use it. You’ll have to cover up every inch of the room in which you paint so as not to get accidentally sprayed.
This is why we will give you all the information necessary for refurbishing old kitchen cabinets with a brush. Invest in some high-quality brushes, and the end result will be fantastic. Make sure you use synthetic bristle brushes for water-based paints and natural-bristle brushes for oil paint. Get a 3 to 4 inch-wide square brush for large and flat surfaces and a 2 ½ to 3 inches angled brush for corners, decorations, and molding.
How to Make Old Wood Cabinets Look New?
Your kitchen cabinets most likely have paint or varnish on them. Now, while there are ways to repaint kitchen cabinets without taking the old varnish or paint off, you completely eliminate the potential adhesion problems by taking off the existing coat of paint or varnish. Paint sticks to raw wood better than it does to paint, even with two bond coats. The process we’ll focus on is stripping paint and giving your kitchen cabinets a brand new look on a budget. But first, we’ll cover some basic information about the finishing coat as well. Without the finish, your kitchen cabinets might only look good for a limited time, as use and tear can seriously affect your paint job.
Choosing the Right Finish for your Kitchen Cabinets

The finishing coat, as mentioned above, can be oil or water-based. While some particular types of finishing can give different results, we’ll focus on the best finish for your kitchen cabinets based on durability. We all know that the doors, shelves, and drawers are subject to wear and tear. The last thing you want is to place a plate on your shelf or to scrub it, only to realize that you scratched all the way through your paint coat.
The most durable option for highly used cabinets is a semi-gloss or gloss finish like polyurethane. While they do bring a certain level of sheen and won’t have that matte aspect, these options ensure that your kitchen cabinets won’t need to be repainted in a few months. They seal the paint in and are described as “washable”. They have a higher quantity of resin and binders, giving them higher durability. Try to avoid using an eggshell or flat finish paint as they aren’t as washable and can chip easily.
Choose the Best Finish for your Countertops
All of the above is meant for the doors, walls, shelves, and drawers. Now we’ll focus on the countertops. Whether they are worn, scratched, stained, as long as they are made out of wood, they can be painted, covered with another model, and finished in such a way that they will have that countertop protection.
The following material can be used on any kind of countertop, on any kind of paint, stain, or model, and you’ll still have that hard and scratch-resistant countertop protection. No, the secret element to this fantasy is not epoxy. Epoxy can be used to guarantee 100% protection, but not for countertops. The reason for that is that a countertop is a place where you cut vegetables, meats, place heated pans, and epoxy doesn’t work well in those situations. Firstly, it stains, meaning that if you cut tomato on it, you’ll get a red spot on your countertop.
Something that works as well, if not better is polycrylic so try replacing epoxy with it and you’ll fix all your color bleeding problems. Polycrylic hardens as epoxy and forms a solid seal over any type of wood. It protects your countertops from heat, water, light, and color bleeding and gives a glazed finishing look.
The only thing about polycrylic is that while it can be used for any wooden furniture, for countertops, it should be applied in several coats to ensure the hard, scratch-free protection that you expect from your countertop. Usually, something between 3 to 5 coats should be applied with about two hours in between each coat as it dries relatively fast. Unlike polyurethane, polycrylic does not give a yellow tint to the paint and is also less toxic, making it ideal for preparing food on it. It is also cheaper than polyurethane.
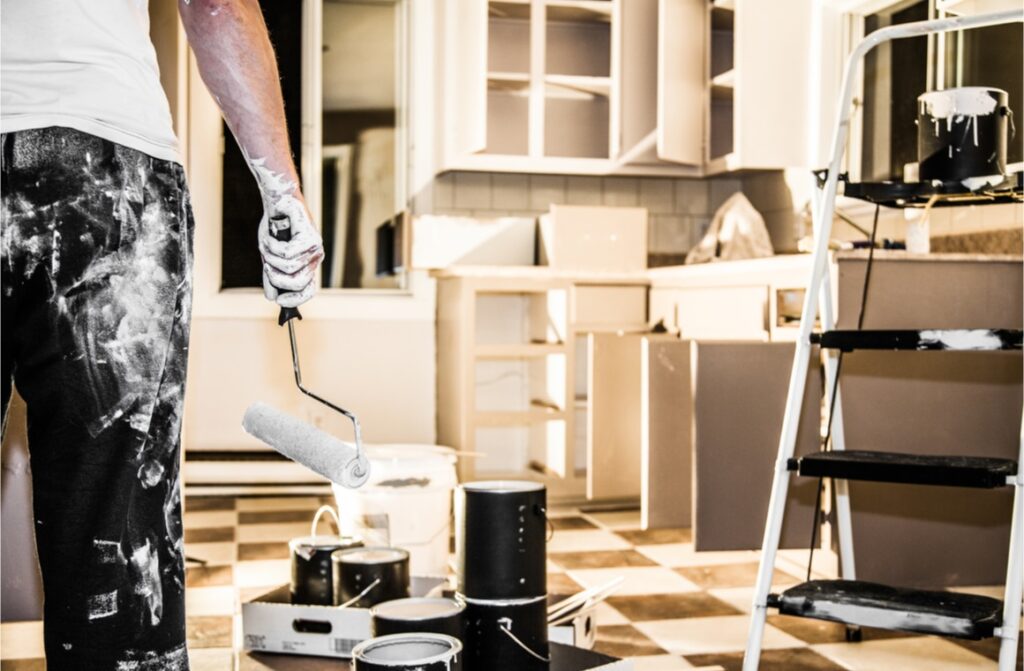
DIY Kitchen Cabinets Makeover
In order to limit your kitchen cabinet makeover budget, this is a DIY project, but it won’t look like one. This DIY project is easy enough in terms of labor, but it is a tedious endeavor. You’ll need a working station, a screwdriver, wood putty, wood glue, sandpaper or a sander, heat gun, paint stripper, paint, and finishing coat. Make sure you use protective gear, especially if you use oil-based solutions, but gloves, goggles, and a mask should be worn when sanding the wood to protect your eyes, mouth, nose, and hands from debris. Try to work in a well-ventilated space.
1.Take the kitchen cabinets apart
If you want to get that professional look, take out the drawers, the hinges, the doors, the shelves, take off all the hardware, or simply put, undo your kitchen cabinets. The only parts that are left standing or put together are the boxes themselves.
Pro tip: Number all screws, hinges, doors, shelves, drawers so that you can put it back exactly as it was.
2. Scrub away
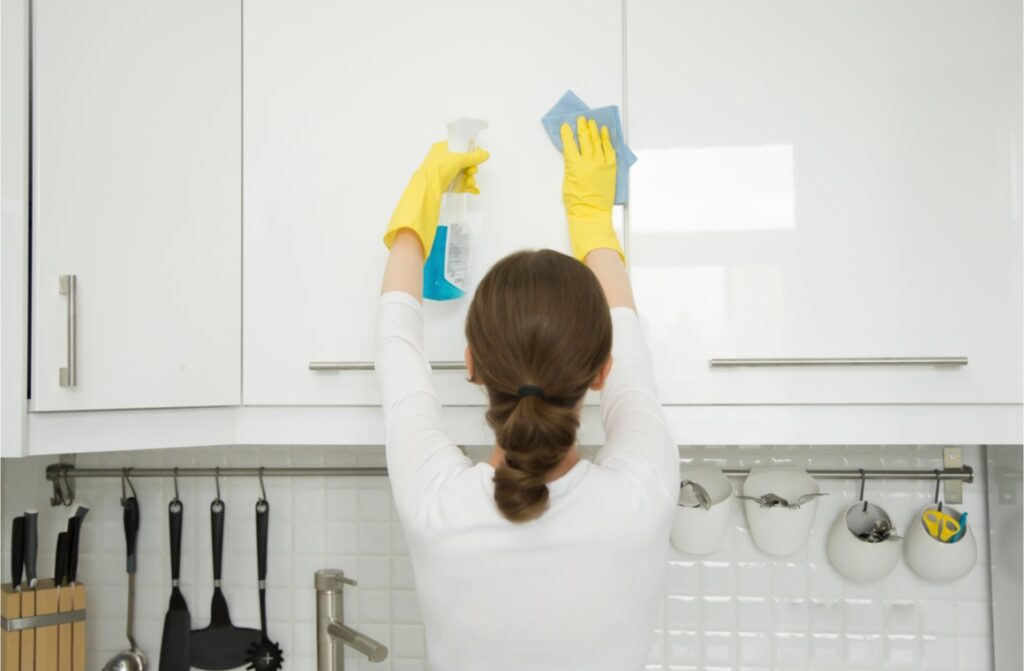
Cleaning the wood is necessary. For this, you can buy trisodium phosphate from paint stores, but usually, ordinary household cleaners work. You have to remove grime from use off of the frames, doors, shelving, and drawer fronts. Once you scrub them thoroughly, rinse them with water and set them to dry.
3. Prep the wood
If you are using a paint stripper, make sure to use latex gloves and cover your body as much as possible so that there is no possibility of the paint stripper getting on your skin. If it gets in contact with skin, it will burn it. There’s no way around it. When using it, take into account the temperature in the workspace. If it’s too hot, it will work faster, dry faster, and you’ll have to take it off faster. It will still work, but you don’t want it to dry because if it dries, you’ll need a sander to take it off. And it must be taken off. If you don’t take it off, the paint won’t stick to the wood. Spread it across the whole area and let it work between 10-30 minutes (depending on the temperature) before you take it off with a scraper.
Another option is to use a heat gun. It’s not toxic, and it is easier to use. It might take longer as you can only work small parts of the wood at the same time. Point the heat gun on the surface area you are working on, keep it there until the paint starts to bubble, then use the scraper to take off the paint.
Before either of these two steps, take the sander and work the surface with a 100-grit paper. For the cabinet boxes, whether you take off the paint or not, you can use a sheet of sandpaper and work it against the surface by hand. For the doors, drawers, and countertop, use a sander for a better end result. Paint applied on raw wood has a bigger adhesion, and for surfaces prone to wear and tear, it’s best to take it off entirely. If you only use a stain on the wood, gradually take the sander to at least 180-grit to ensure a smooth finish.
Any holes left over by the removed hardware needs to be filled with wood putty. Add a bit of excess as it shrinks while drying and once it’s dry, sand the excess off.
4. Prime the wood (optional)
Depending on the desired finish, the wood needs to be primed if you use paint. From top to bottom, brush the primer across the wood grain, then go in the direction of the grain when still wet. Before you let it dry, finish with single strokes across the whole surface in the direction of the grain. When the wood has joints, paint slightly over the joint, then, before it’s dry, paint the other section of the joint.
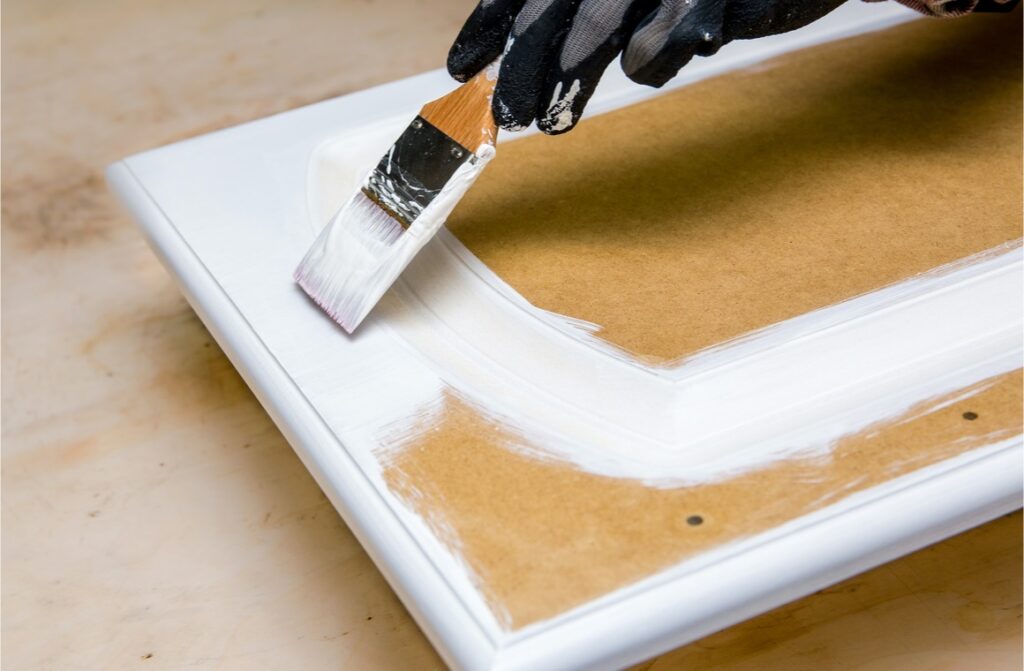
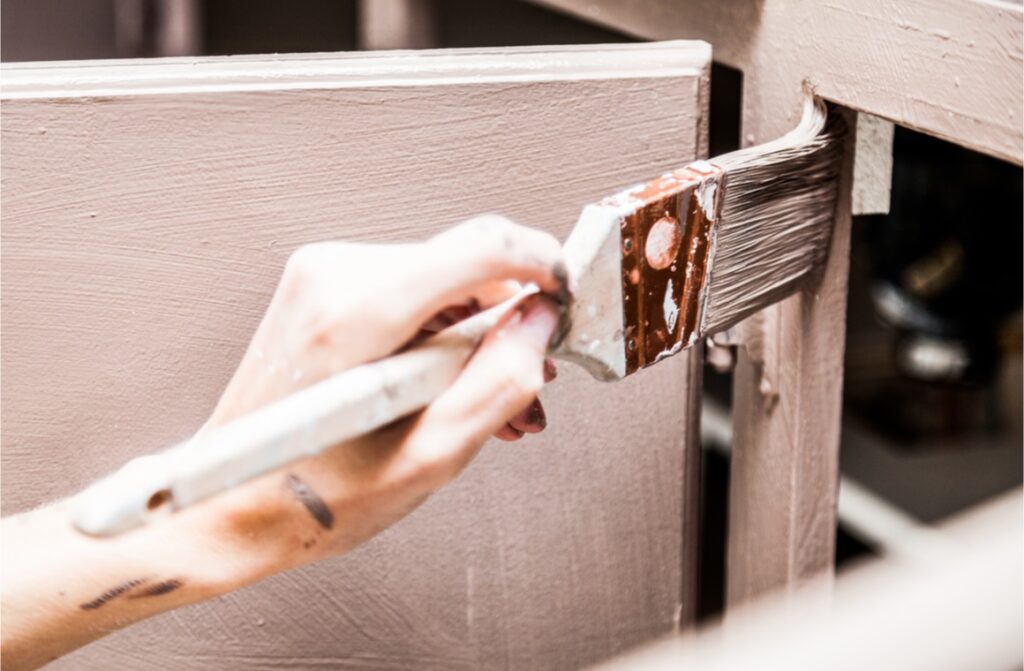
5. Paint
Once the primer is dried, sand the surface with 220-grit paper to reach a smooth finish. Before you apply paint, make sure that all the dust is off- use either a vacuum or a tack cloth. Depending on the paint color and how dark or light it is, one coat might be enough. For darker colors, apply two coats to ensure your desired color. We only talk about the shade of color because there are different colors for different places, some that work better than others in the kitchen and you might want to keep that in mind.
Paint the drawers and doors with a brush, from top to bottom, across the grain, then finish off with the grain. For the cabinet box, use a foam roller. Between coats, lightly sand the surface and clean it of any debris, but only once it’s done. If necessary, repeat the process.
The last step of the painting process is the finishing coat. This is unnecessary for the cabinet boxes, but the doors, drawers, and countertop require it because of the wear and tear they are susceptible to—one coat for the doors and drawer fronts and several for the countertop.
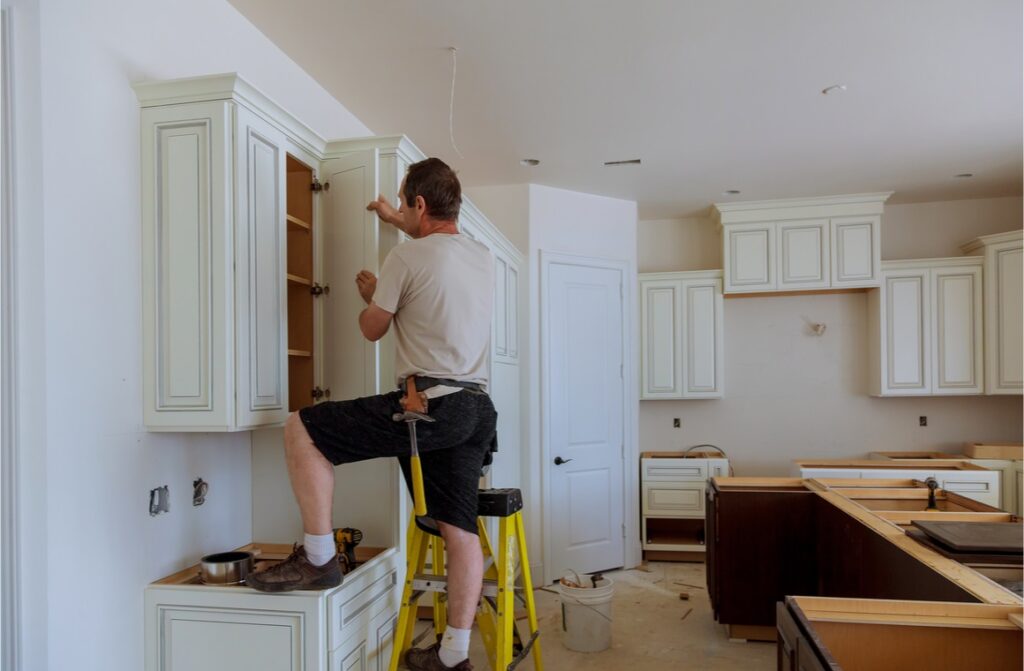
6. Put it back together
Once everything is dried and ready to go, put the hardware back in. This is when you can replace the hardware if you want to give your kitchen cabinets a complete makeover. Go for something vintage and give your kitchen some extra personality, or contrast a vintage paint job with some modern hardware to stand out. Install the hinges and knobs back in their place if you can. If the new hardware doesn’t allow for the exact same spot, no worries. We covered the old holes for a reason. If the color or varnish is done correctly, the old hole should be invisible and you can do whatever you want with the new knobs and hinges.
Reinstall the drawers, put back the shelves and doors, and you are ready to prepare food for your renovation dinner party with all your friends and family. But first, take a step back, look at your completed masterpiece, take plenty of pictures so your social media friends can awe at your handy-work. There’s no reason to be coy about this. It’s your work and you should be proud of it. Better yet, invite friends over for that dinner party and wait for them to wonder how much the cost was to renovate your kitchen cabinets. Soon enough, they might come to you with ideas and try to hire you to reinvent their kitchen cabinets as well.
Conclusion
Adding up all the tools and solutions required for this DIY kitchen cabinet makeover, your budget should be somewhere between $300 to $1,000, which is much less than the cost of new kitchen cabinets. Aside from the fact that this DIY project will help you save up a lot of money, it is also a sustainable way of upgrading your kitchen cabinets. No new wood will be used for this project, no trees cut down, no more money in the pockets of large corporations, and no unjust working conditions for the workers. You’ll be the only one working, and the satisfaction from a completed DIY project is beyond anything you would get from purchasing new kitchen cabinets. Trust your instincts, prepare yourself for some physical labor, and get ready to be inspired for even more furniture refurbishing projects. Reduce, reuse, recycle is a mantra we should adhere to because as long as the furniture we have in front of us is structurally sound, it can be upgraded and used for a lot more time. Like & Share this article with friends and family that might have been caught up in this refurbishing frenzy that’s been taking over the world. Leave us a comment with your thoughts on DIY projects that give new life to old pieces of furniture.